Home Home Home About Me Themes Freebies Photo Gallery TpT Specials Contact Me Teachers Pay Teachers Facebook Twitter

Sunday, October 28, 2012

Halloween Sensory Table

This is such a fun sensory table idea. My kids all thought it was super cool and it is perfect for Halloween!

You will need:
Cooked Spaghetti
Food Coloring
Rubber Halloween Toys (Ghosts, Pumpkins, Skeletons, etc.)


How to:
Cook the spaghetti and drain water. Separate cooked spaghetti into bags and add different colors of food dye to each bag. Close bag and shake until color is evenly distributed throughout the entire bag of spaghetti.
(Click each photo to enlarge.)

Tuesday, October 23, 2012

Cinnamon Play-Doh

Cinnamon Play-doh
I really wanted to make play-doh that smelt good, but wasn't made out of Kool-aid (I was growing tired of always making Kool-aid scented play-doh!) so I decided to make Cinnamon scented instead. The recipe is a very basic fool-proof recipe so if you are not the best baker in the world, you can still be successful in creating amazing play-doh.

You will need:
2 cups flour
1 cup salt
4 tsp Granulated Alum
2 Cups water
2 TBSP Oil
2 tsp red food coloring
2 or 3 tsp ground cinnamon

Step 1:
Mix all dry ingredients in large saucepan.

Step 2:
In a separate container add water, oil, and food coloring.

Step 3:
Combine wet ingredients with dry ingredients in a saucepan. Stir.

Step 4:
Turn burner onto Medium-High heat and stir until a firm ball forms.

Step 5:
Take off burner and let cool.

Step 6:
Knead dough until it is smooth and feels like play-doh.

Step 7:
Store in an air-tight gallon Zip-Loc bag. Viola!

Saturday, September 29, 2012

Big vs. Small

I wanted to create a visual for my preschoolers so that they could see what Big vs. Small looks like. So I pulled out my Cricut and "Doodlecharms" cartridge and put this together. The "big" things are cut at 6 inches and the "small" things are cut at 2 inches.

Unfortunately I used Elmer's school bottled glue and my poster got a little warped (WORST GLUE EVER! I usually use glue sticks)...I have it under a few dictionaries so hopefully it will flatten out. If not, I am laminating it so it should look fine.
Here is a photo. I will post another after lamination.

Word Wall

Here is the "Word Wall" poster that I created for our Circle Time bulletin board. After it is laminated, I will be able to write in the theme as well as 8 main vocabulary words for my kids.

Laminate posters and use dry-erase markers on them, then you can wipe off using a wet paper towel and use multiple times. You can even use Sharpie if you are going to post it for a while and then use a Mr. Clean (Target Brand works fine) Magic Eraser to erase it. :)

I used the Cricut Cartridge "Don Juan" for the lettering and "Learning Curve" for the rectangles to write on.

"Word Wall" cut at 3 1/2 Inches.
"Theme" cut at 2 3/4 Inches.
Rectangles cut at 7 inches.

(Click photo to enlarge!)

Community Helpers Sensory Table

Last week our theme was "Community Helpers." For our sensory table we had dirt with various vehicles seen in our community. For example: Construction trucks, police cars, Ambulance vehicles, and firetrucks. The kids actually did pretty well with keeping the dirt IN the sensory table-unlike the rice!!!! Here is a photo.
(Picture is a little blurry because I took it in the dark during nap time...Gotta take advantage of that Prep-time!)

Monday, September 3, 2012

Circle Time

Our Circle Time Board is pretty Plain right now because it is missing our Letter, Shape, Color, and Number of the week but here it is so far. Love the green paper against the blue walls.

Sensory Table

Right now we have a very simple sensory table for the kids. It consists of Colored Rice, Sequins, Scoops, and Measuring Spoons.

Camping Dramatic Play

This week was camping week in my classroom. We did a ton of fun outdoors activities right in the classroom. We brought in a tent, a stump, and had the kids paint wood with bio-color, which we later stacked together and had a campfire with. Here are a few photos.

Cubby Room

Check out our adorable Cubby Room! It reads "Chicka Chicka Boom Boom Welcome to the Cub Room!" Each Child's name is above their cubby. <3 This is my favorite part of my classroom by far!

Bathroom Organization

In my classroom, we have kids who are not potty trained, in the process, and fully potty trained. With that we tend to have a lot of accidents throughout the day. We have extra clothing for the kids just in case, and here is how we organize and store them. This is on a shelf in the bathroom stall above the toilet.

Block Area

We rearranged our classroom for the "School Year." Our centers are much more defined now and they are more put together. Here is a snap shot of our Blocks Center.

Dramatic Play Area

Here are a few photos of our new Dramatic Play area. We have a kitchen set, table, baby dolls, and dress up clothing in Dramatic Play right now because our upcoming themes are "All About Me" and "Family Life." Because we are in the process of becoming NAEYC accredited we are required to have books in all of our Centers so we have cook books in our Dramatic Play Center right now. (NOTE- We actually ended up moving the Paper Towel Dispenser so it isn't in the Dramatic Play area...It's on the other side of the sink now.)

Saturday, August 11, 2012

More Sesame Street Friends

Here are a couple more pictures of some of the Sesame Street Characters for my classroom. My Co-Teacher and I are planning on using them this coming week for "Sesame Street Week" and then when we are done we are going to decorate our classroom bathroom with them. I think they turned out so cute!
(Pictures by Ms. Amy)

That Creative Teacher

Friday, August 10, 2012

Bear Door Decor

I decided to change my classroom door already. I had a whimsical tree on it for a while but it wasn't looking all that great so I had to change it! My classroom is called the "Cub" room so I decided to cut bears our on my Cricut and put each child's name on the bear's tummy. I used the "DonJuan" and "Doodlecharms" Cricut cartridges to make everything. Isn't it cute!?

Thursday, August 9, 2012

Sesame Street Friends

Today my Co-teacher and I cut out some super cute Cricut cuts from my "Sesame Street Friends" Cricut Cartridge. We still have a few more to cut out (Elmo and Snuffy not pictured) but they are SO adorable. We have Sesame Street Week next week so we have been planning ahead for our classroom decorations. We used the 12x24 Cricut Mats, and the 12x24 paper is actually pretty difficult to find. Here is a sneak peak of some of our cut-outs.

Wednesday, August 8, 2012

Circus Week Dramatic Play

It is Circus week in my classroom right now so I switched out our Dramatic Play area. I Decorated our Dramatic Play with a Circus banner and the words "Circus" cut from my Cricut. The kids did some clown art so we also hung that in there. We have Popcorn containers, Circus tickets, a clown bean bag toss game, Ring toss, and clown and circus animal costumes.

Tuesday, August 7, 2012

Circus Sensory Table

This week is Circus Week in my classroom. I created a fun (and MESSY) sensory table to go along with our theme. Here is what our sensory table includes this week: White paper shred Rainbow Curling Ribbon Circus Animals "Rings of Fire" (Pipe Cleaner and Tule) Slinkies Warning: With 3-year-olds the shred will be ALL over your classroom, stuck to your clothing and carpeting, and possibly in your hair. :)

Saturday, April 14, 2012

Galaxy Play-dough

This is the coolest play-dough ever! It is also not as messy as you would think. Once the glitter is kneaded into the dough-it stays there so there is no mess after you make it!

Here is what you will need:

1 c. water
1/4 c. salt
1/4 tsp. food coloring
1 Tbsp. vegetable oil
1 c. flour
1 Tbsp. alum
1 or 2 small packets of glitter (Found at Dollar Tree)

(Doubling this recipe works well for a larger group of children.)

How to:

In a saucepan, mix the water, salt and food coloring. Boil on high for about 1 minute, stir until the salt dissolves.


While it is still hot, stir in the oil, flour and alum. Mix well. (It will be a little bumpy but not to worry, you will knead that out later!)


When it is cool to the touch, knead for about 5 minutes.


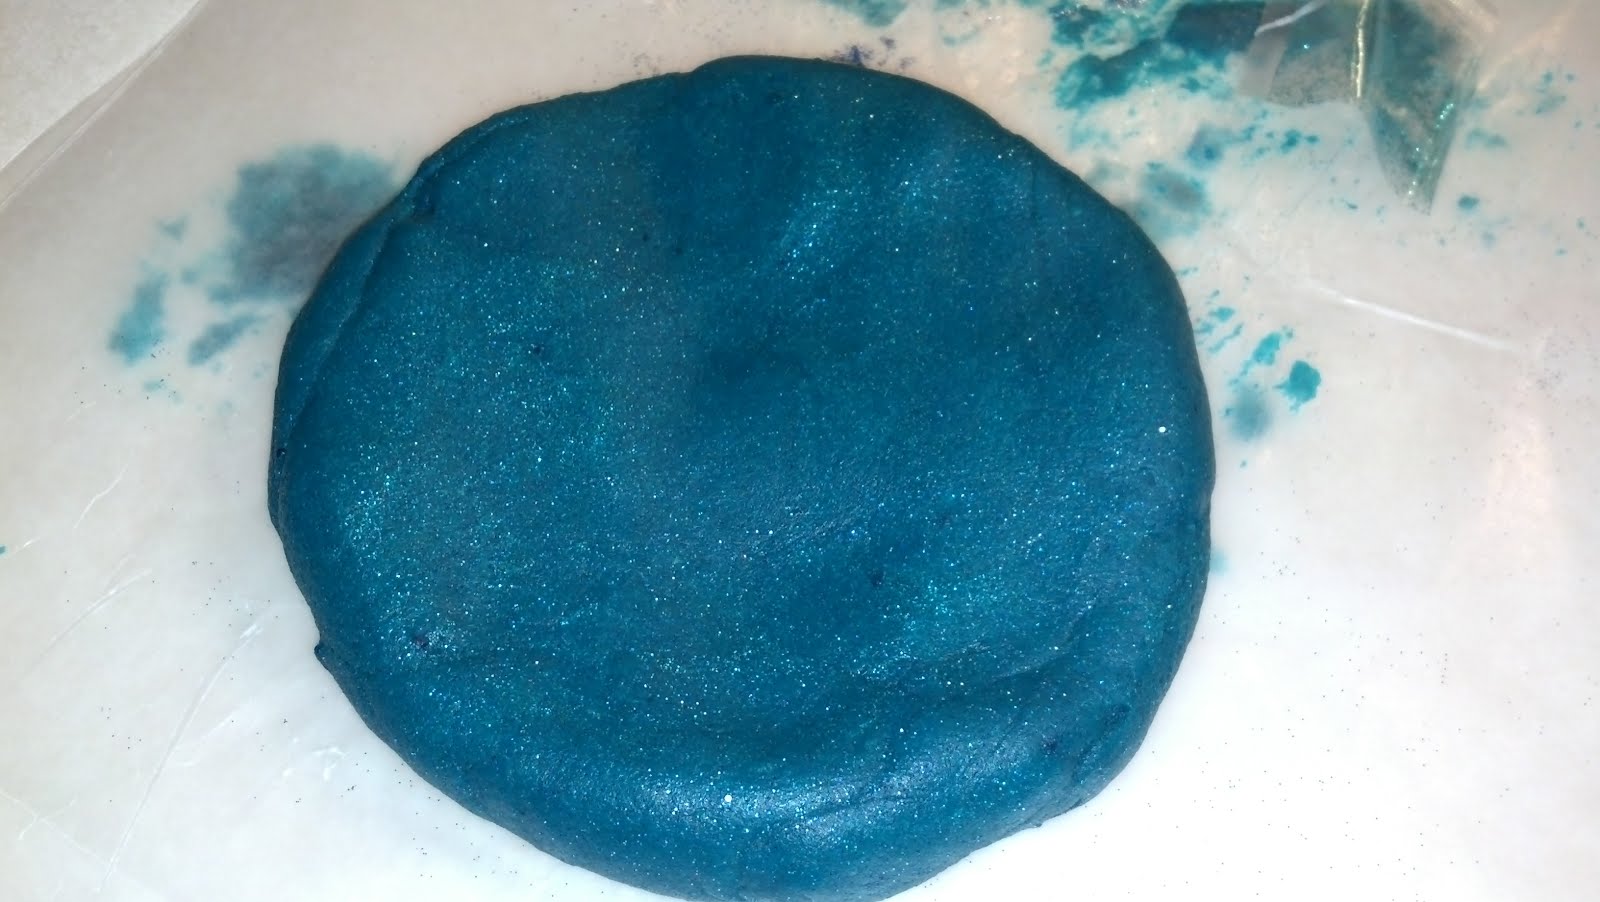
Roll Dough out into a circle about 1 inch thickness. Pour glitter in the center. Knead in glitter.


&& Voila! Here you are: (The picture hardly does the sparkle justice!)


Store in an airtight container (gallon size bag works well) for several weeks!


*SIDE NOTE:
For this Galaxy Play-dough I mixed blue and green food dye together. I used about 1/2 of the blue food dye and only about 5 or 10 drops of the green. I use the food colors from the Dollar Tree. It comes in the box below and the colors are actually really great. Here is a photo of the food dyes:


Button Snake


This idea is from Counting Coconuts. It is super easy to make.

What you will need:
2 foot long piece of ribbon
Large Button
Scissors
Felt


How to:
Tie the ribbon onto the button on one end and tie a loop on the other end.

Cut a bunch of 2 inch by 2 inch squares out of felt.

Cut slits in the felt squares.

String the felt squares through the button onto the ribbon.

:)

ABC Play


I saw this idea here on Pinterest. I thought it was super cute and looked like fun.

I might add velcro on my ice cream and cones so that after the kids match them they don't move around.

I used the Cricut die cutting machine to create these, Doodlecharms was the cartridge.

Interactive Counting


I have to admit, this is not my idea. I saw something similar to this on Pinterest and adapted it to fit my needs.

How it works:
Let the children count the hearts and then open the blue heart to see the correct number inside.

Counting Cards


I made these cards using mainly the Provocraft Cricut as well as random Fiskars punches.

These are great for children who are just beginning to learn how to count. They can count the pictures and see the number on the card which builds number recognition. Great for ages 2-4 years old.

*SIDE NOTE*
These are not flash cards and should not be used to "quiz" children.